Before buying an M.2 SSD, check the exact slot in your computer’s manual. You need the correct physical length, storage protocol, and clearance for the drive. If it will replace your boot drive, make a verified backup and decide whether to clone the old disk or reinstall your operating system before opening the computer.
Check the slot, protocol, and physical fit
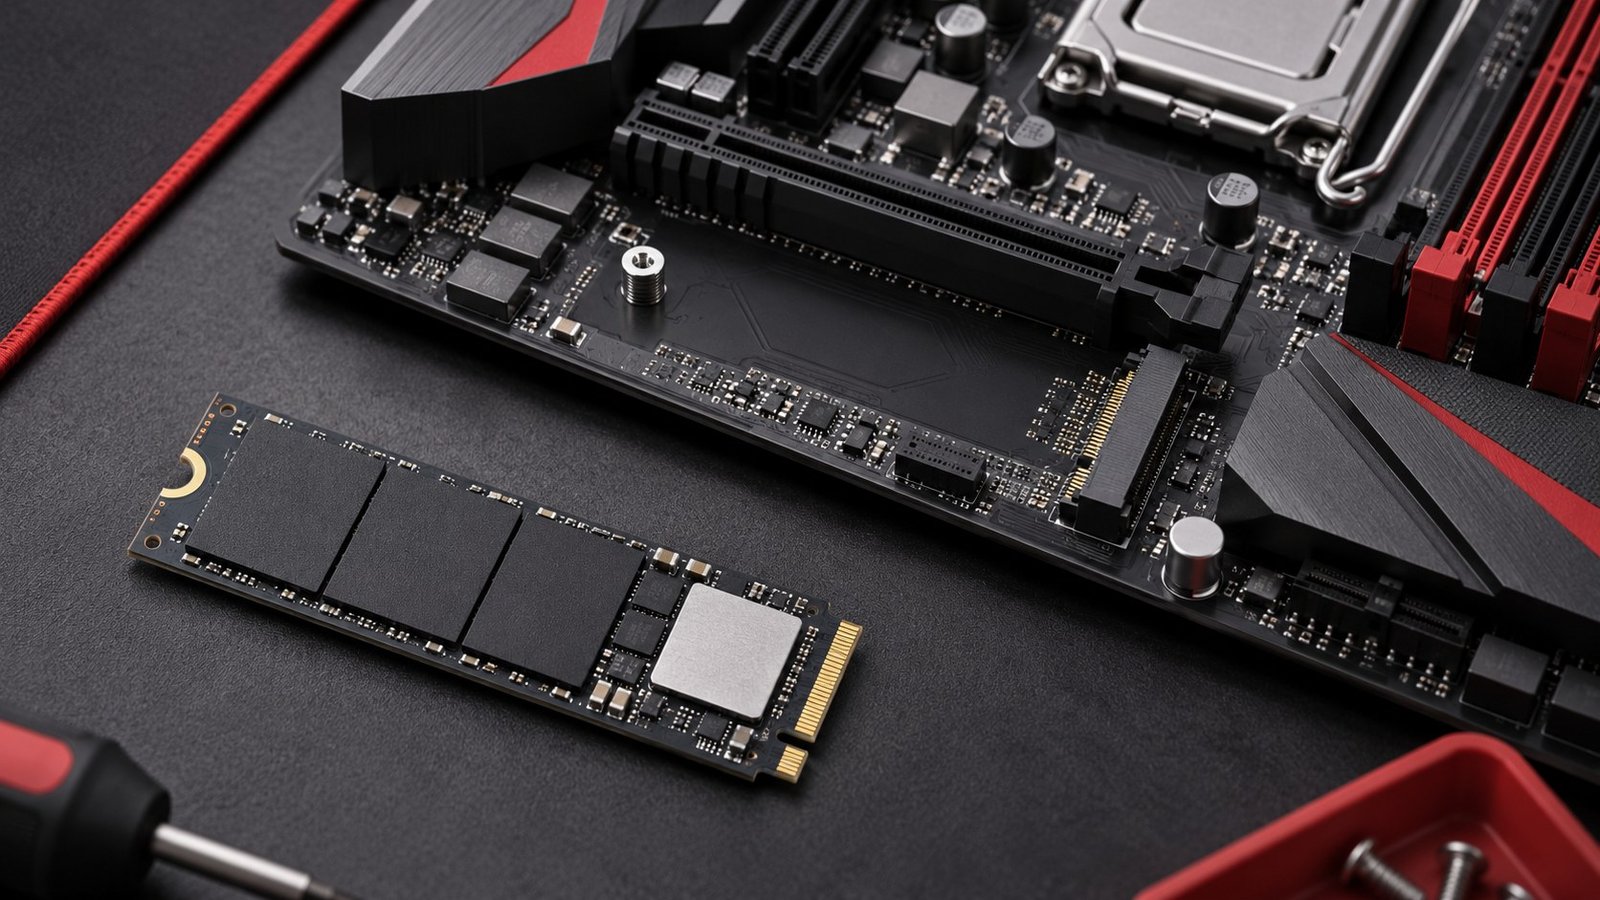
M.2 describes a form factor. An M.2 storage drive can use NVMe over PCI Express or SATA, and a slot may support one or both. The markings on a board or the shape of the connector can help identify it, but the manual is the most useful source. Check the exact motherboard revision or laptop configuration, then read the storage section for the specific slot you will use.
Drive dimensions are commonly listed as four digits. A 2280 drive is 22 millimetres wide and 80 millimetres long. Compact systems can require shorter drives. Look for the allowed lengths and the retention point in the chassis. Check whether the computer accepts a drive with components on both sides and whether a tall factory heatsink will fit. Laptop enclosures may have less clearance than a desktop motherboard slot.
If the board has several sockets, compare their lane counts and PCIe generations. A drive can often operate at a lower supported generation, but the actual mode depends on the drive and host. Some slots share resources with another port or only work with particular processors. Look for footnotes in the storage or expansion section and write down the slot label before the computer is apart.
Pick capacity and performance for the workload
Look at what the existing drive contains today and what you expect to add. A larger drive can be more useful than a higher peak benchmark if you frequently uninstall games or move project files to make space. For a work machine, include caches, temporary exports, and the space required by the tools you use. Give yourself margin to keep working when a project is at its largest.
Peak sequential speed measures one kind of work. Operating system startup, app launches, game loading, and copying large video files place different demands on storage. If your job involves moving sustained large files, check independent tests for that type of transfer and the manufacturer’s specifications. A short burst can finish at a different rate than a copy that fills the drive’s fast cache. Think through what you will actually wait for.
If your goal is to run a larger local AI model, storage capacity helps keep more models downloaded. The runtime still needs memory to execute them. See our RAM versus VRAM guide for local AI before choosing a storage upgrade to solve a model-loading or inference problem. Write down whether the bottleneck is space, loading, or performance after a model is already running.
Prepare recovery and migration first
Use our backup and restore checklist to make a separate copy of irreplaceable data. Open a sample from the backup before relying on it. If disk encryption is enabled, confirm you can access the recovery key independently of the computer. Record any account or application information you would need for a clean installation. Keep the existing drive intact until the new installation and files are verified.
If you want to keep the current operating system, choose a cloning utility compatible with the existing disk and new drive. Decide how both drives will be connected. A computer with one slot may need a compatible enclosure or adapter for the new SSD. Check that the enclosure supports the drive protocol. Verify the source and destination by model and capacity before approving any operation that overwrites a disk.
For a clean installation, prepare the installer and make sure you can start it before changing the drive. Download any storage or network driver the computer maker requires. If you are adding a second drive for data, decide which disk will remain the boot device. Keep notes on which slot and capacity identify the new drive so it is easy to distinguish it from the existing one.
Install and verify the new drive
Follow the computer maker’s service guide. Power down and disconnect external power. For a laptop, follow its instructions for battery disconnection or service mode. The Crucial NVMe installation guide illustrates a typical slotted installation, but use the retention hardware and thermal instructions that apply to your system. Do not force a drive into a socket or push it against a misplaced standoff.
After starting the computer, check whether firmware or the operating system detects the drive. A new data drive may need initialization and a volume before it appears in the file manager. Identify it by model and capacity before making any disk changes. For a migrated boot disk, check that the computer actually started from the new device. Verify that your normal applications open and that a sample of important files is accessible.
Run the workload that motivated the change. A video editor can open a project and export a test clip. A gamer can install and launch a typical title. If the drive is missing, recheck slot support and seating with the computer powered down and follow the manufacturer’s troubleshooting steps. If another disk disappeared after installation, revisit the manual’s shared-port footnotes. Keep the original disk or backup available until the new configuration has passed the checks you care about.
Before shopping, copy the storage section of the manual into your notes and make a short list of the details that matter. Include the slot name, supported drive length, storage protocol, available lanes, and any instructions for thermal pads. If the same computer is sold with more than one motherboard, verify which revision you have before ordering. When adding a second drive, check whether a bracket or retention screw came in the motherboard box. Missing hardware can turn a compatible upgrade into an unfinished job. After installation, give the new drive a clear volume label and point your backup software at any folders you move there. Run another sample restore from those folders. A storage upgrade changes where data lives, which is a good reason to repeat the restore test. Keep your disk and backup labels consistent so that a later troubleshooting session does not depend on remembering which physical drive held the original files.
Keep a record of the drive model, slot, and installation date. That note can help you locate the right firmware, warranty information, or backup target later.
Frequently asked questions
Will any M.2 drive work in any M.2 slot?
No. Check the drive protocol, length, mounting point, and clearance for the exact slot.
Do I need a heatsink?
Follow the requirements for your drive and computer. Some slots have an integrated heatsink, and some compact computers require a specific low-profile arrangement.
Can I install a faster PCIe SSD in an older slot?
It often works at the speed supported by the host, assuming the slot supports the drive protocol and form factor. Check the hardware documentation.
Should I erase the old disk immediately?
Keep it intact until the new drive starts correctly and you have confirmed your applications, files, and separate backup are usable.