Steam Game Recording lets you keep footage of a PC game, pull a short clip out of a longer session, and export a video you can share without asking the recipient to open Steam. The central choice is whether to let Steam record in the background or start recording only when you ask. For a surprise comeback or a bug you cannot reproduce on demand, background capture is useful. For planned footage, on-demand recording gives you a clearer start and end. Set one mode, capture a short practice run, and check the exported file before trusting it with a longer session.
Choose a recording mode
Open the desktop Steam client and go to Steam > Settings > Game Recording. Choose background recording if the moments you want tend to happen unexpectedly. Check how much recent footage you want Steam to keep and how much disk space the available quality settings are likely to use. A background buffer is designed to roll forward as you play. Turn an important moment into a saved clip promptly so you know exactly which portion you are keeping.
Choose on-demand recording if you are doing a narrated walkthrough, demonstrating a benchmark route, or collecting a consistent series of bug reports. Review the start and stop shortcut shown in your own client and change it if that combination already triggers a game action. If you switch between modes regularly, check the active mode before launching the game. A hotkey that works the way you expect in one mode may do something different in the other. Valve documents the recording modes and supported sharing methods in Steam Game Recording support.
Make a short test recording
Open a game you already know well and choose a location with motion, a quiet moment and one distinct sound effect. Move the camera quickly, pause for a few seconds, then trigger the sound. This gives you useful checkpoints when you play the recording back. A static menu can confirm that an image appears, but it gives you little evidence about motion quality, audio sync or what happens when the renderer gets busy.
If you plan to include narration or voice chat, test the same input setup you will use in the full session. Plug in your microphone or headset first, then check which devices the computer and Steam are using. Record a sentence over a loud in-game sound and listen with headphones. If speech disappears under game audio, improve the balance now. Review who can be heard before sharing a recording that includes other people. For visually documenting a single menu or error message, a still image often works better. See our guide to taking and finding Steam screenshots.
Find the moment on the timeline
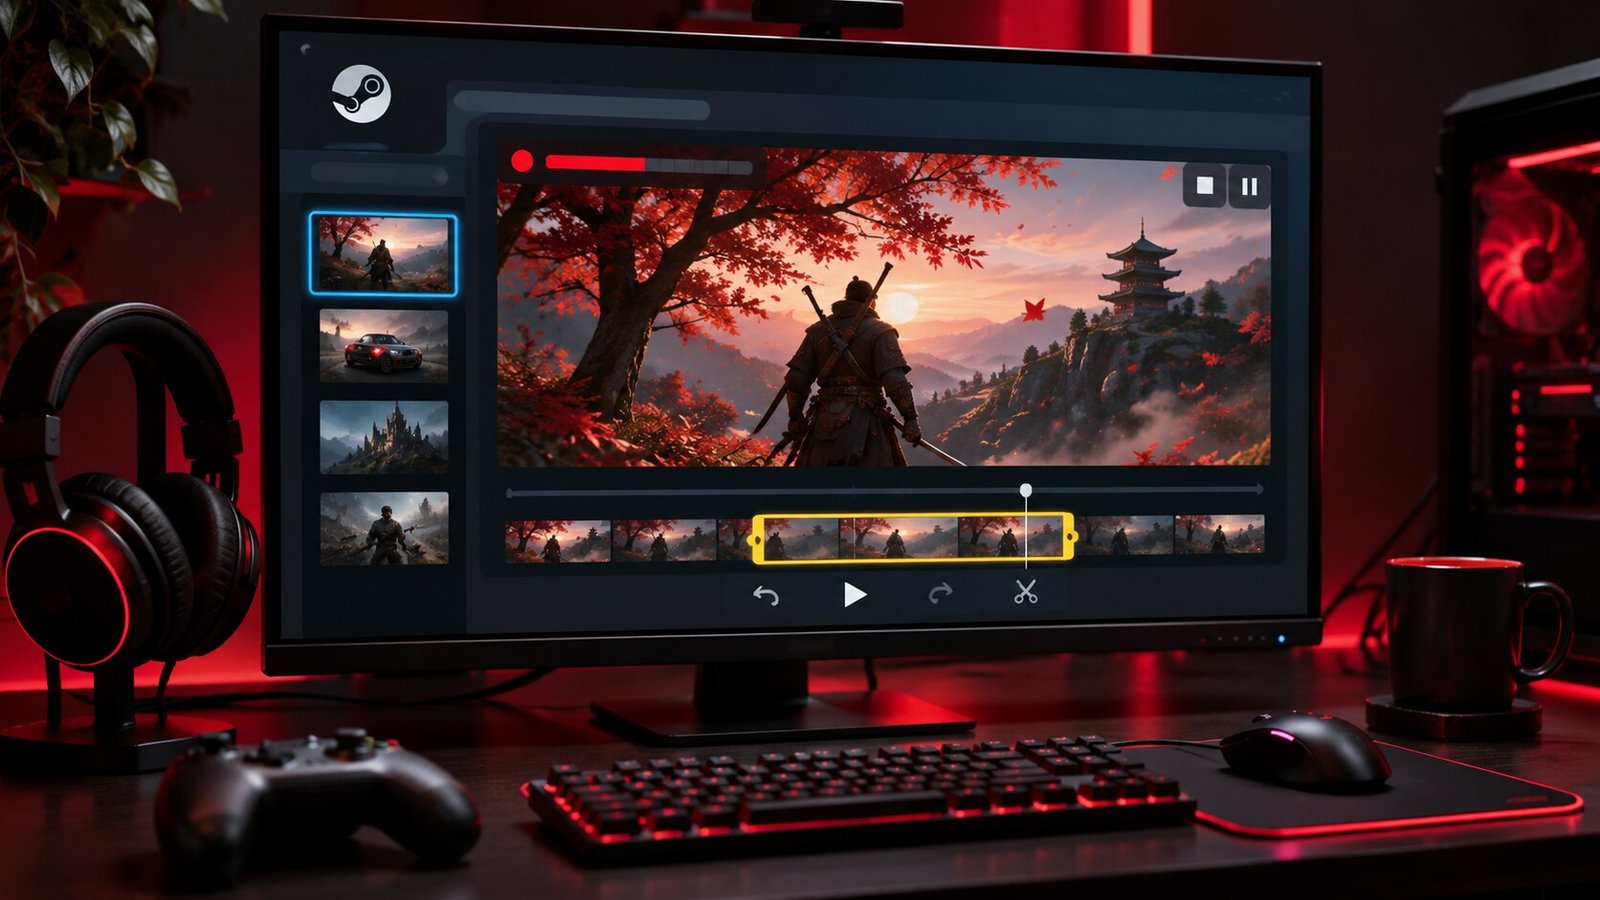
Open the relevant game recording through Steam’s recordings interface. Use the timeline to find the general area, then play the footage around that point. Games that integrate Steam timeline events may leave markers you can use as shortcuts. With a game that offers fewer markers, look for visual scene changes or memorable sounds. If you planned several takes, a distinctive action between attempts can help you separate them when reviewing footage later.
Once you find the moment, use the clipping controls to set where it begins and ends. Leave enough lead-in that a viewer can tell what is about to happen. Leave enough time afterward for the result to appear, especially if the proof is a scoreboard, inventory change or error dialog. Play that selected range before saving it as its own clip. Keep the first edit focused on a single moment. You can make a second clip if a different part of the same session deserves its own explanation.
Export and review the video
Use the clip’s share or export controls and choose the file export option when you need a local video. Save it in a folder you can find outside Steam and use a filename that describes the game and event. Try the file in a regular video player. Check the first and last seconds, listen for unwanted speech, and verify that text you wanted to show is readable. For a bug report, the exported file should make the trigger and the outcome easy to distinguish at normal playback speed.
Pick the sharing method that fits the recipient. A video file is useful when someone needs to inspect it locally or attach it to a report. If the client offers a share link for the clip, check the conditions shown in the client before depending on that link for a long-term reference. For a longer project, keep an export in the same folder as the rest of the project material. A clip within Steam and a separate exported file are two items to account for when you organize your storage.
Fix missing footage, silence or slowdowns
If nothing was captured, first confirm the recording mode, shortcut and the selected game. Try opening the Steam overlay and check that recording is available in the current session. Return to a known game and take a new ten-second sample. This comparison separates a wider client or capture problem from a problem affecting one game. Check available storage at the same time. If an export fails after you save a clip, try a smaller test export to a local folder with available space.
If the video is silent, check whether game audio, microphone audio or both are missing before changing devices. Turn on any intended audio sources in the recording settings, confirm the input the operating system uses, and unplug or reconnect an external device if the selected input is stale. If only one game is silent, compare it with another game and check the first game’s output device. On Windows, our guide to per-app audio output helps trace audio routed to a separate device.
If performance drops, compare the same short section with recording disabled and enabled. Keep the game’s resolution and graphics settings the same so the recording setting is the variable you are testing. Reduce capture quality or switch to on-demand recording if the overhead matters. After the change, export a second sample and check whether it still serves your purpose. A tiny HUD number might matter in a settings demonstration, while a wide shot of a race can tolerate more compression.
Frequently asked questions
Can I save a moment after it already happened?
You can if background recording was active and the moment remains available on the timeline. Open the recording, select the relevant portion, and save it as a clip. The buffer duration and elapsed play time affect how far back you can go.
Do people need Steam to view my clip?
An exported video file can play outside Steam in a player that supports its format. Test the export yourself before attaching it to a message or bug report. If you use a Steam link instead, open it separately to confirm what the recipient will see.
How long should a gameplay clip be?
Keep whatever time the viewer needs to understand the setup, action and result. A few extra seconds can clarify a bug or strategy. Remove unrelated loading screens and repeated attempts when they add little context to the event you want to show.
What should I keep if I plan to delete old recordings?
Export any clips you want to retain to a folder you can locate and play them there before removing recordings. For a project you will edit later, consider preserving a longer segment as well so you have room to change the cut.