Go to Settings → System → Display → Night light. Turn it on manually first and adjust Strength until the screen is comfortable. Once you see it work, set the schedule and verify it on each screen you use.
Set a baseline before changing color
Open a white page or document and view it under the room lighting you normally use in the evening. Note the screen brightness and any monitor preset in use. The point of the initial comparison is to have something familiar on screen when the tint changes. A photo with strong orange tones is a poor test because a small shift can be hard to see. Keep the same content open until you have chosen a setting.
Start with Night Light turned off and disable any competing color filter temporarily if you control it and can turn it back on. Check whether the monitor has a reading mode in its own menus. A warm hardware preset and a warm Windows setting can combine. If you do not know how the existing preset was chosen, write down its name before changing it. This is especially important on a shared computer used for photo work.
Turn Night Light on and choose the strength
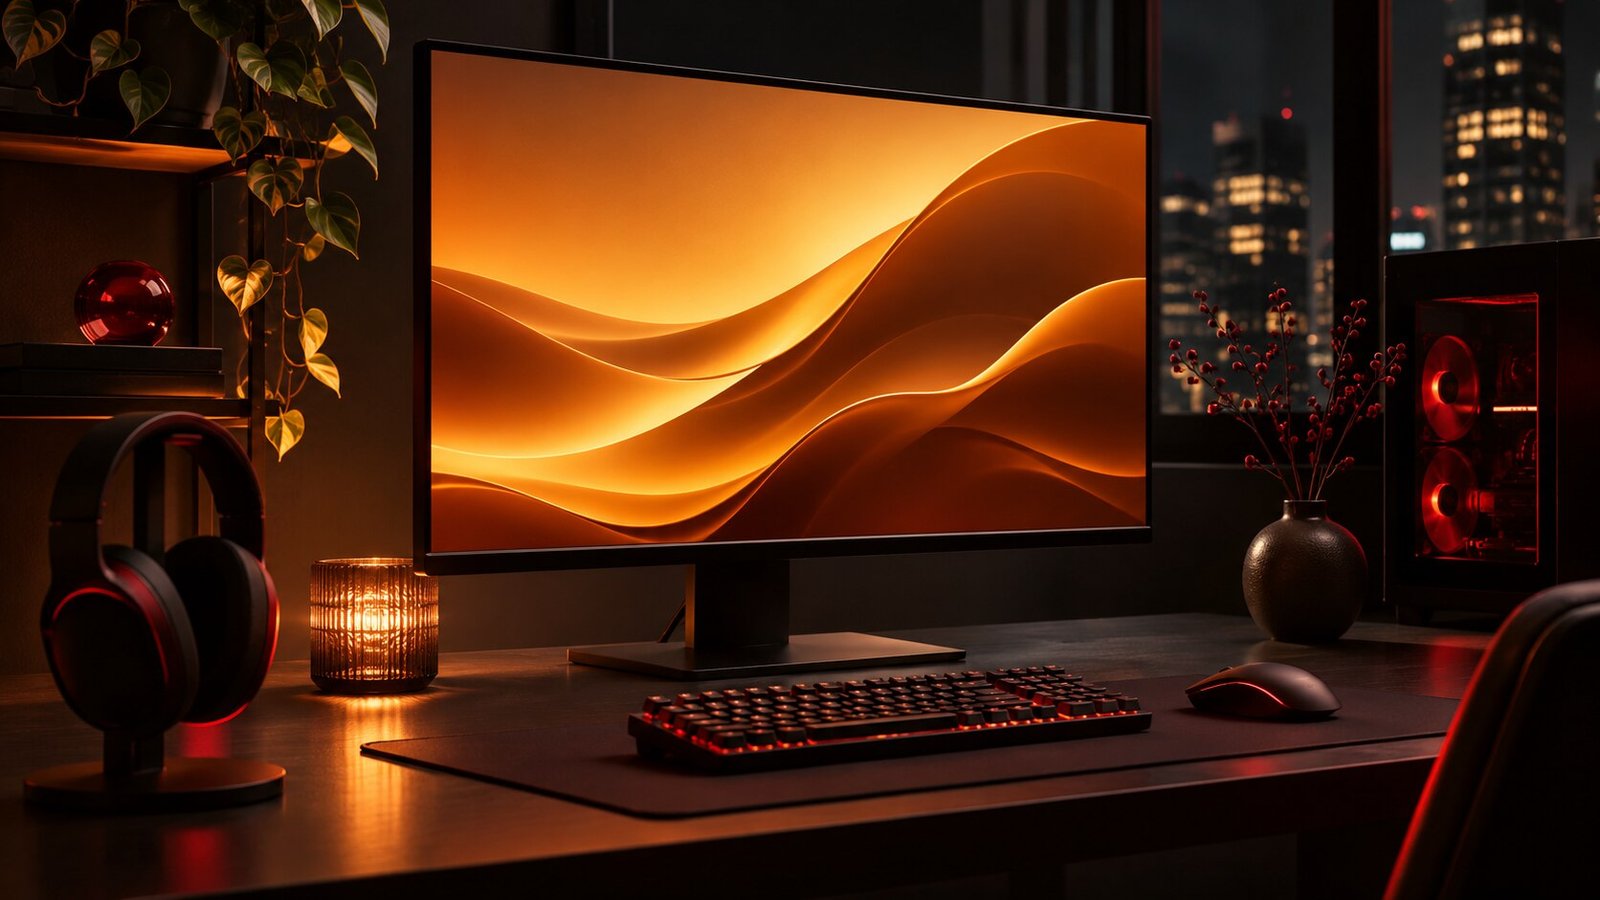
Open Settings and choose System, then Display. Open Night light to see the controls. Use the manual toggle first and look at the white page you prepared. Microsoft documents the setting in its display brightness and color guide. Move Strength a little at a time. Lower settings make the change subtle, while higher settings make neutral areas look noticeably warmer. Choose a value you can comfortably use for reading in your normal room lighting.
Brightness is a separate adjustment. If a white page still seems glaring, lower the display brightness using the relevant control and compare. A desktop monitor may require its own buttons. Check that text remains clear after both adjustments. Test a browser, a dark interface and a document. A setting that looks pleasant on one app might make gray controls hard to distinguish elsewhere. Keep an easy way to switch it off for tasks that need a neutral display.
Choose a predictable schedule
In the Night light settings, turn on scheduling. Set explicit hours if you want consistent times, such as the period when you normally finish work. If you prefer a sunset-based schedule, check the location settings Windows requires for that option. Use explicit hours if the PC has no usable location information or if you prefer to leave location access as it is. When you travel, check the computer’s local time and time zone before treating a schedule difference as a fault.
Verify the schedule with a short trial. Set a start time a few minutes ahead, leave a neutral document open and observe the change. Then set the real schedule. Check both activation and deactivation when practical, particularly if a computer sleeps at one of those times. If the effect is already on manually, return it to the expected state before the trial. Note the strength and schedule so you can restore them after a troubleshooting change.
Check more than one display
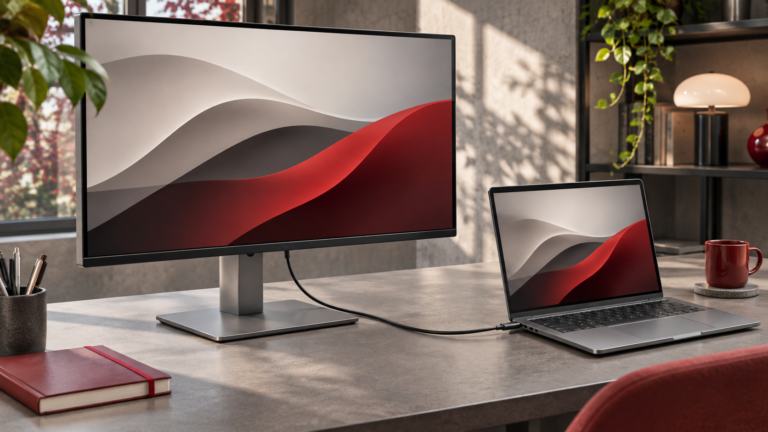
For a laptop with an external monitor, compare a white page on both screens. Different panels and presets can make the same adjustment look stronger on one display. If one screen changes and the other barely responds, check its input mode and preset, then test the external screen by itself. Our dual-monitor setup guide explains how to identify screens and compare their settings. Keep the windows visible at similar brightness while you check the difference.
When the monitor is connected through a dock or adapter, try a direct video connection if you can do so safely. Some display paths handle color changes differently. Use the same resolution and compare the same white page. If, instead, the monitor is missing or goes blank, start with our dock troubleshooting guide. A connection fault and a warm tint that fails to apply are different symptoms. Confirm the picture is stable before adjusting its appearance.
Troubleshoot a missing toggle or no visible change
First try increasing Strength temporarily so the effect is easier to see. If manual activation works and the schedule does not, focus on the schedule, local time and location settings. If the toggle is missing or unavailable, check the active display adapter and use the supported driver for your computer or graphics device. Microsoft notes that some drivers may not support the setting. On a managed machine, ask IT which display driver and connection are supported.
Restart normally after applying a documented driver change and repeat the test with a single known display if possible. If you also use a vendor utility that changes color temperature, test with one utility active at a time. Return to your recorded starting preset if the result becomes confusing. Keep notes about whether the problem affects every display or one connection. That helps avoid blaming the monitor for a problem that follows a specific adapter.
Know when to turn the tint off
Turn Night Light off when reviewing photos, matching colors, or evaluating a display’s calibration. Return to the intended monitor preset and give yourself a moment to adjust before judging color. If you calibrated your screen for HDR use, follow our HDR calibration guide with an appropriate baseline. Do not judge the result by changing the schedule and calibration settings at the same time.
For a screen recording or presentation, check the saved or shared result separately. A color change on your monitor may be part of the display path and may not look the same in a capture or on another device. Use a short sample to verify what the audience sees. When you finish that work, restore the desired schedule and check that the tint returns at the expected time. A routine that is easy to reverse makes it more practical on a shared desk.
If two people use the same workstation for different tasks, agree on a simple routine for switching the tint off during color work. Put the baseline preset and expected hours in a short note near the setup. Test the same neutral page again after a graphics update or a new monitor so the evening setting stays easy to recognize.
For a practical comparison, keep the room lights and the text size constant and try your preferred setting for ten minutes. Then read the same page with the tint off. Pay attention to whether gray text and toolbar icons remain legible. Save the strength that works best and use it as the starting point on the next screen.
Frequently asked questions
Does Night Light lower brightness?
It changes perceived color temperature. Compare brightness separately using the relevant screen controls.
Why does it come on at the wrong time?
Check the time zone and schedule. A sunset-based schedule can also depend on location settings.
Should I leave it on when editing photos?
Use the intended neutral display configuration when judging color. Return to your preferred Night Light schedule afterward.